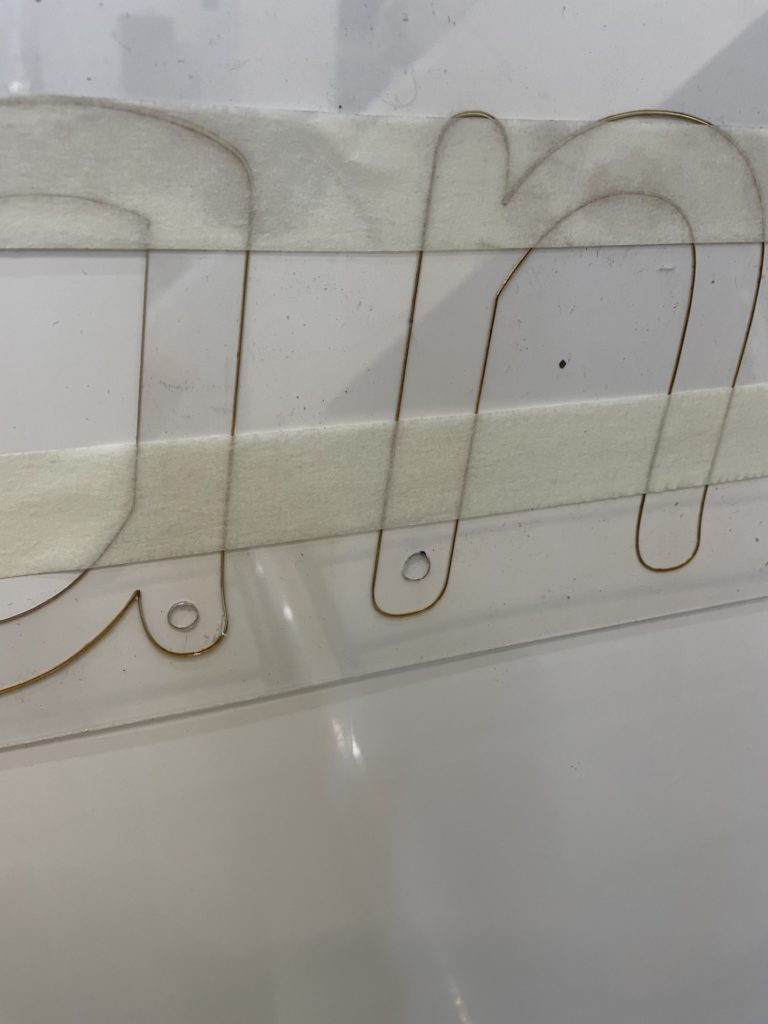
With every sign we make, a super flexible template is included. The template is made of thin transparent plastic that you simply tape onto the transom. Each letter comes with strong and water-resistant tape on the back. So when the template is in place, you remove the protection from the back of the letter and simply staple it in place.
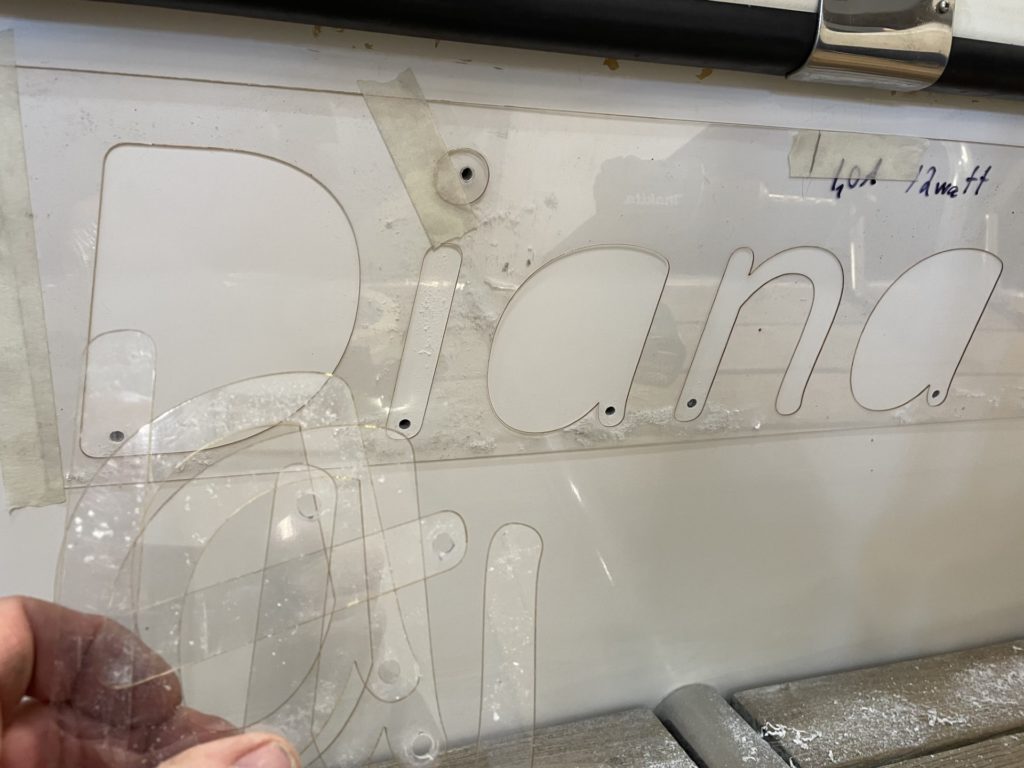
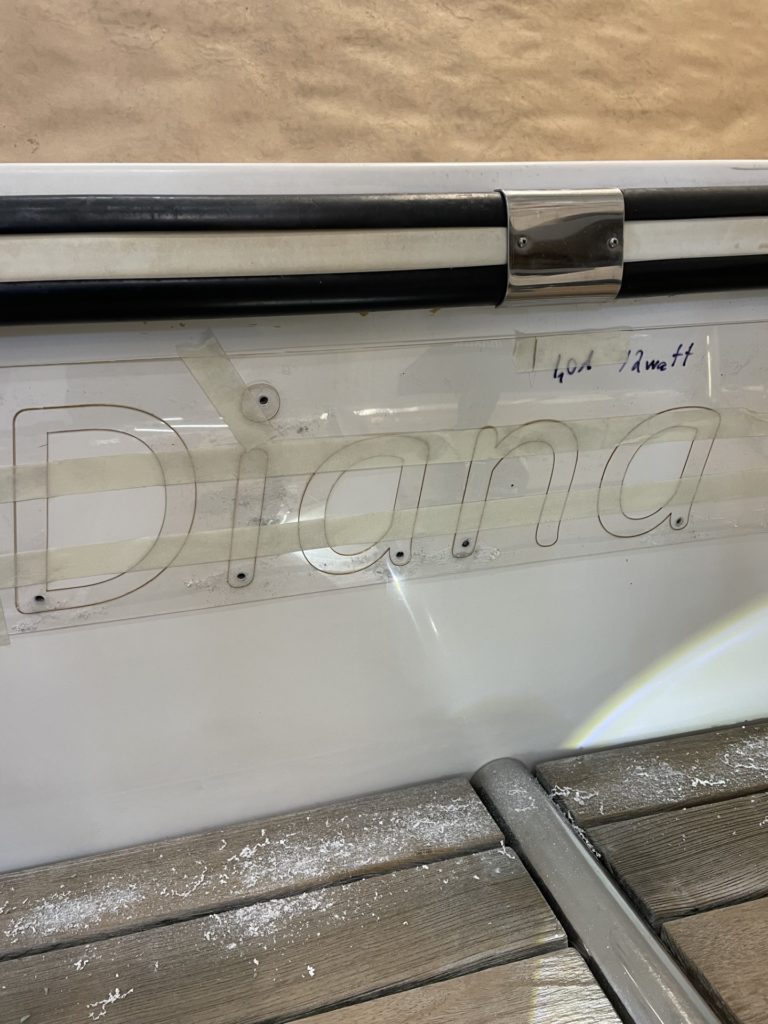
If you have ordered with lighting, you will receive a small drill template for where the cord from each letter should go into the boat. Place the drill template first, drill, then just follow the steps as usual.
Assembly a few simple steps:
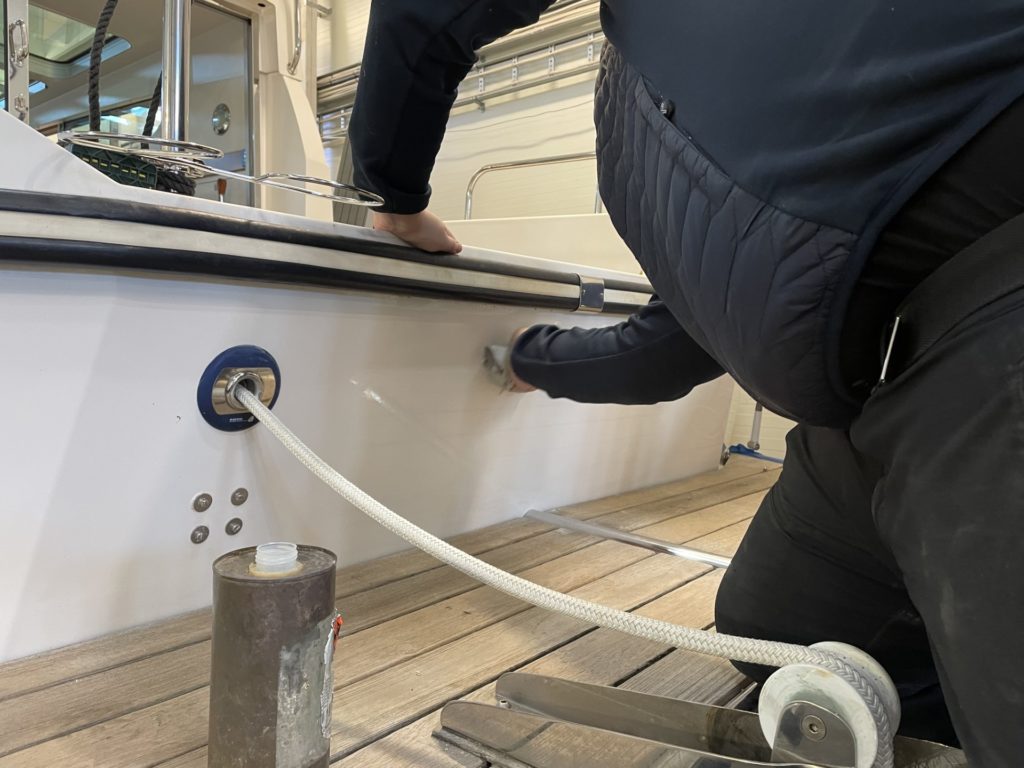
- Wipe the surface clean carefully with the included wet wipes
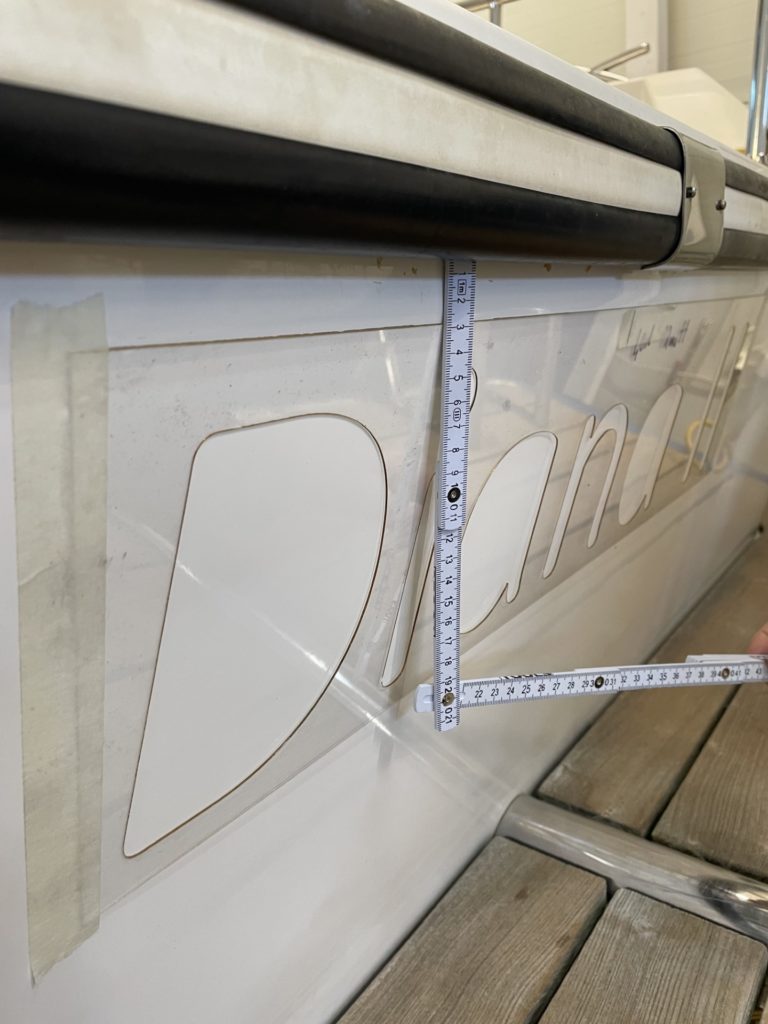
- Measure and tape the template
- Insert the loose drill template letters, one at a time and drill into the pre-drilled hole 5mm, remove and continue with the next letter.
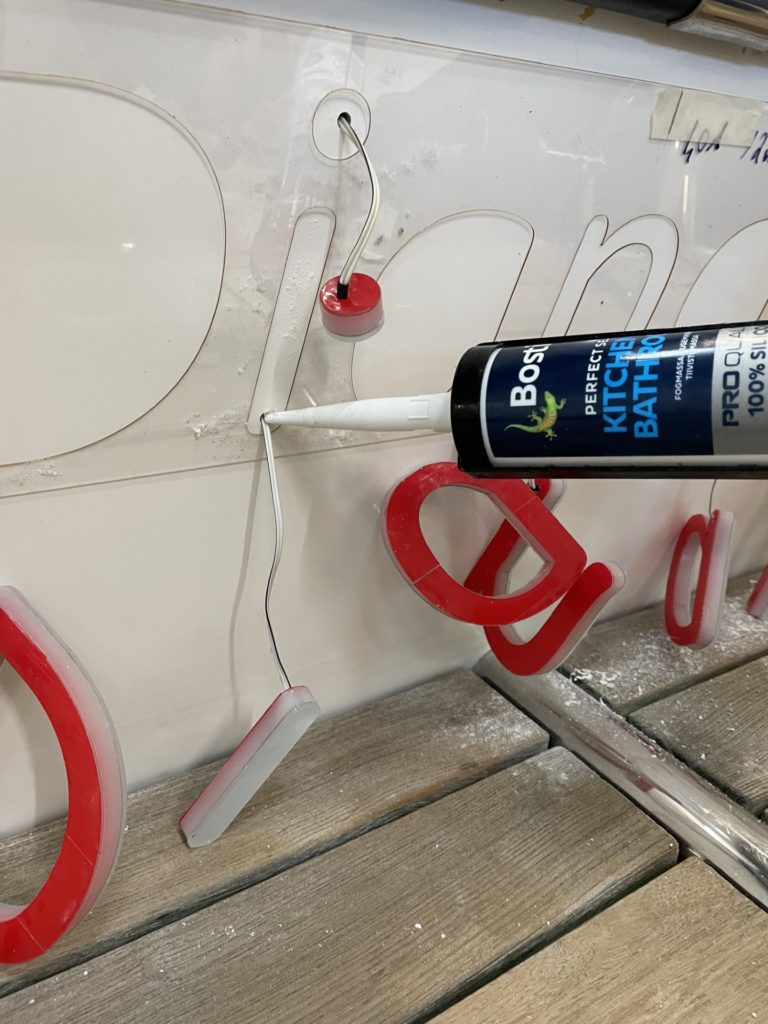
- Thread the cord through, save about 5 cm and put a dab of silicone in the hole before the cord is pulled through completely.
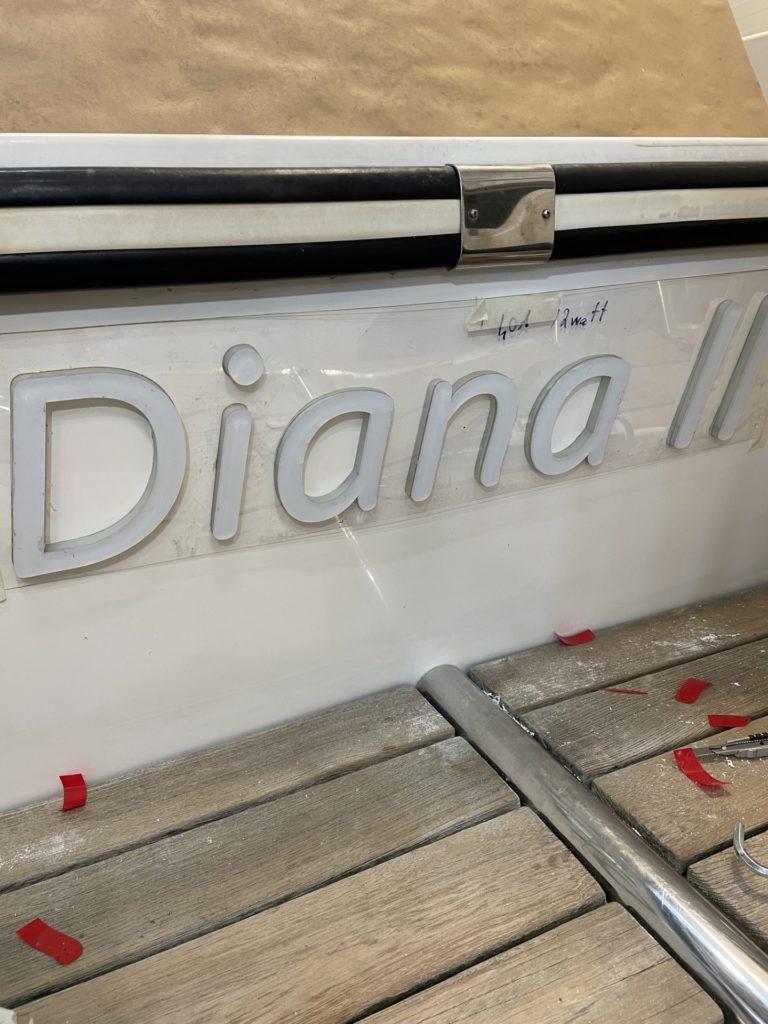
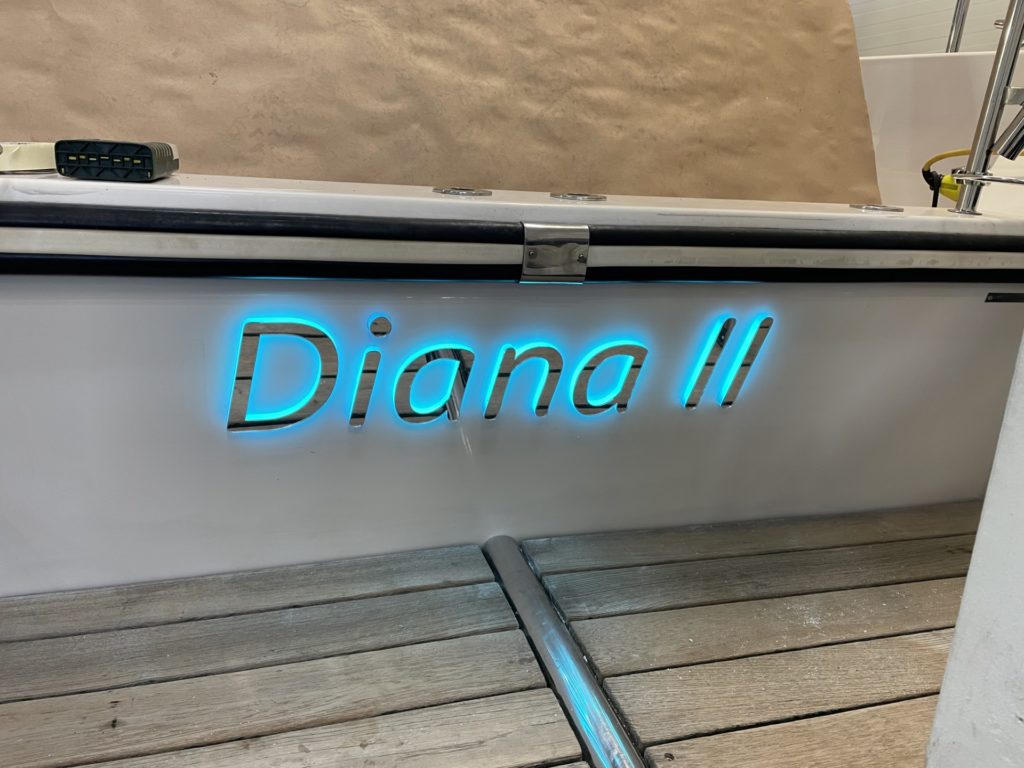
- Remove the tape from the letter and press firmly. Cold and moisture impair adhesion.
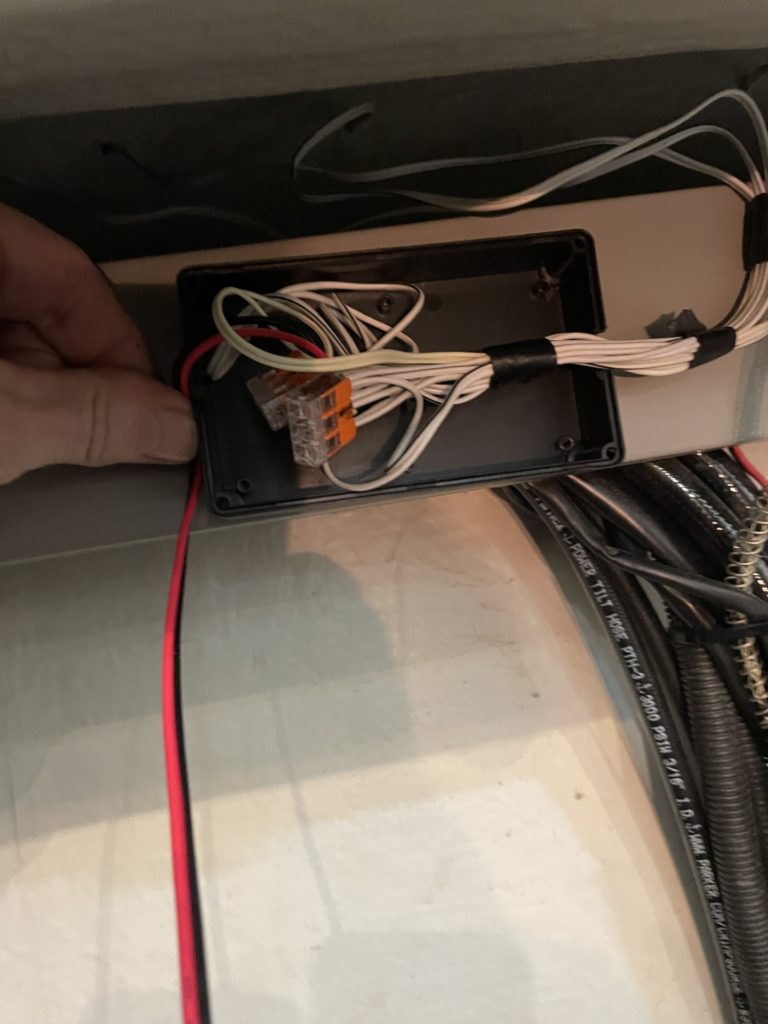
- Connect all the letters' plus wires together with the supplied terminal blocks, same with the minus wires, then put everything in the supplied junction box.
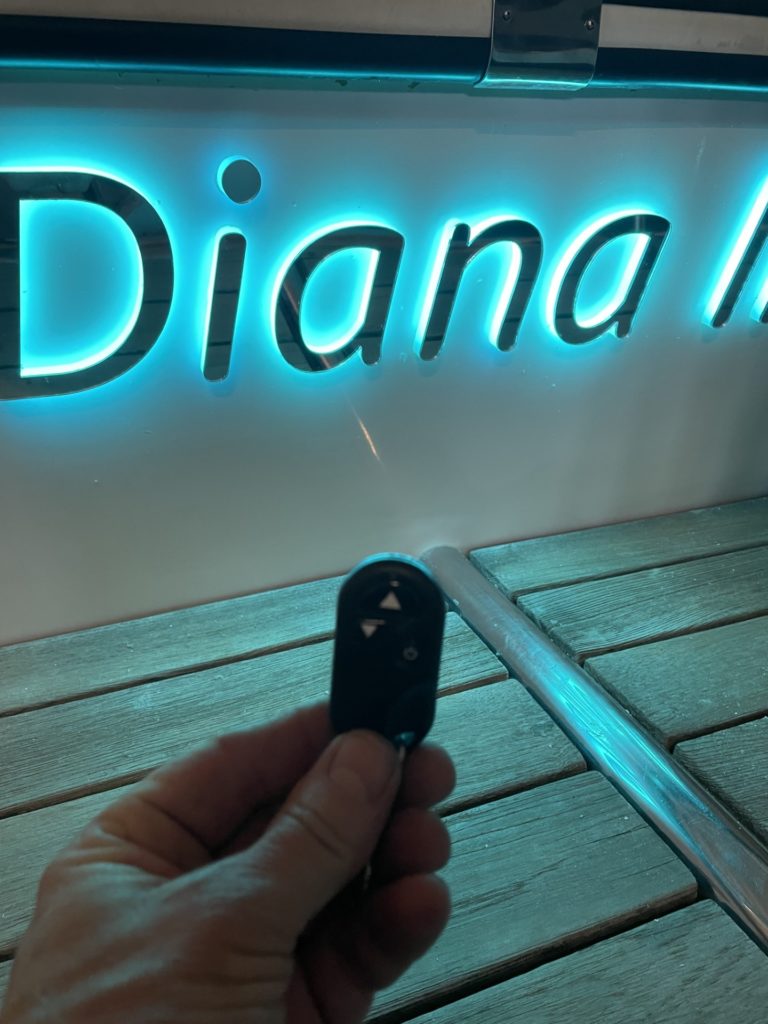
- Connect the plus and minus cables to the battery, nearby power source (e.g. nearest indoor/outdoor lighting, stair step lighting, etc.) alt. connect to our wireless switch with dimmer (recommended as the glow can be perceived as quite strong when it's really dark)
- Done!